A wedding photobook from start to finish
Follow one couple's journey from selecting their favorite shots to holding the finished book in their hands.
By the Studio7 min read
Six months after their wedding, Asha and Rohan still had not looked at most of their photos. There were nearly two thousand from the photographer, hundreds more from friends and family, and a group chat full of blurry videos from the dance floor. Every time they opened the folder, it felt too big to start. This is how they turned it into a book they now keep on their coffee table.
Step one: deciding what the book was about
Their first instinct was to include everything: every ritual, every relative, every outfit. Instead, they sat down with a cup of tea and asked one question: what do we want to remember in twenty years? The answer was simple. The people, the small private moments between the big ones, and the feeling of their families becoming one.
That decision made everything that followed easier. The book would not be a complete record. It would be their story.
Step two: gathering every photo in one place
They created one shared folder and asked close family to add their own photos in original quality, not chat app copies. Asha's aunt had photos of the mehendi night nobody else had captured. Rohan's younger brother had the only photo of both fathers laughing together. Some of the most precious images came from guests, not the photographer.
Step three: three rounds of choosing
Round one was fast: they removed duplicates, blinks and blurry shots. Round two was slower: they starred every photo that made them feel something. Round three was the hardest: they cut the starred photos down to about one hundred and fifty, roughly twice what they expected to use.
The rule they followed was simple: when two photos were similar, keep the one with the better expression, not the better technique.
Step four: building the chapters
They organised the book around the days of the wedding rather than the hour-by-hour timeline:
- Before. Preparations at both homes, the mehendi, the haldi.
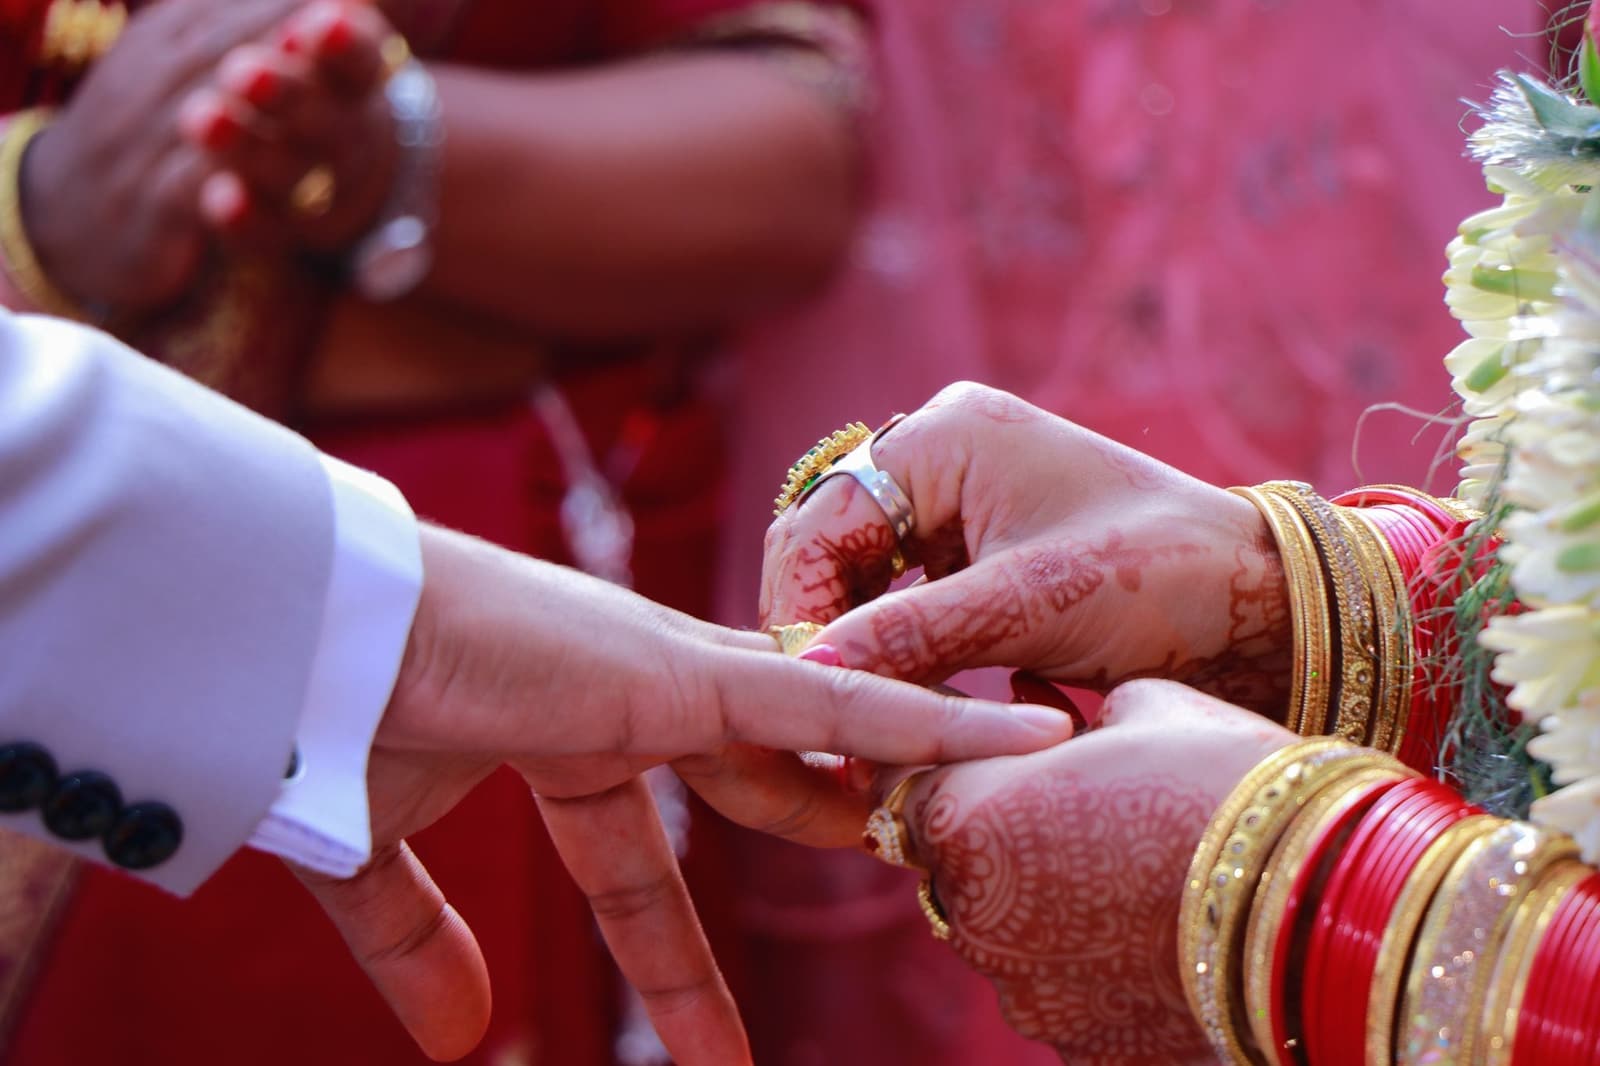
- The ceremony. Rituals, families, the exchange of garlands and rings.
- The celebration. Dancing, food, speeches, the chaos.
- After. The quiet morning when it was finally over.
Each chapter opened with a full page photo and a single line of text.
Step five: designing the spreads
They chose a large landscape book with lay-flat binding, because many of their favourite photos were wide: the whole family on the steps, the courtyard full of guests. Big moments got full spreads. Detail photos, such as hennaed hands, jewellery and food, were grouped in grids. Quiet portraits were placed alone on a page with generous white space.
Step six: adding words
Asha asked both mothers to write a few sentences about the day. Their words opened the ceremony chapter, handwritten and scanned. Short captions named relatives the couple knew their future children would ask about.
Step seven: checking the proof
Before ordering, they looked at every page at actual size, checked that faces were not near the edges or the fold, and asked a friend to proofread names. They found two spelling mistakes in relatives' names and a photo accidentally used twice.
Holding the finished book
When the book arrived, they opened it together on the floor of their living room and did not speak for a while. Then Rohan pointed at a photo of his grandmother dancing and said, "I had no idea she did that." That moment, a memory discovered on paper, is why wedding books are worth making.