How to organize photos before starting your book
A little sorting up front saves hours of frustration once you start designing.
By the Studio6 min read
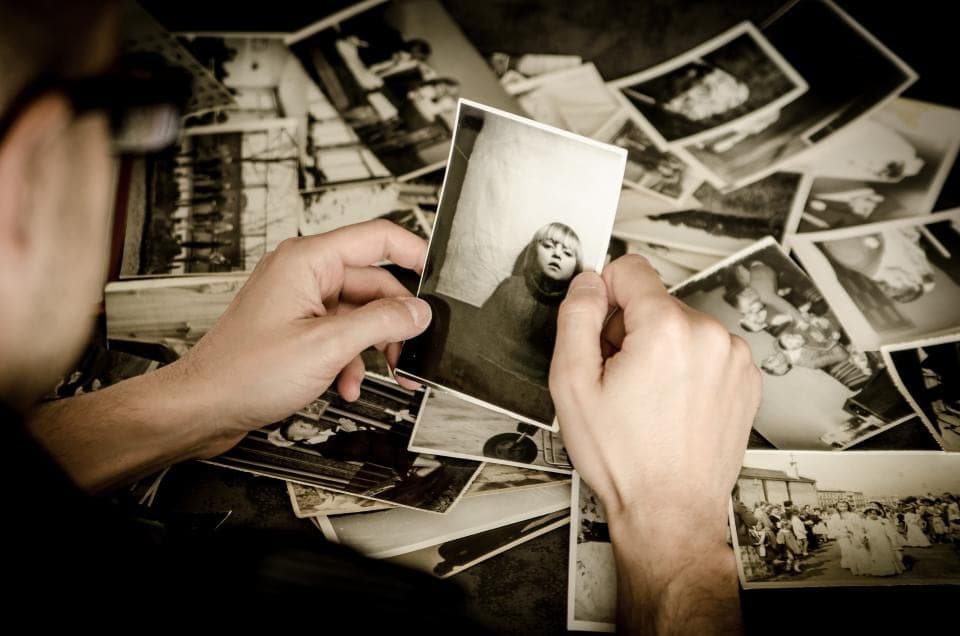
The hardest part of making a photobook is not the design. It is facing the thousands of photos scattered across phones, laptops, chat apps and old hard drives. A clear sorting routine turns that overwhelming pile into a short list you can actually work with, and it makes the design stage much faster and more enjoyable.
Where should I start?
Decide what the book is about before you open a single folder. A trip, a year, a person, a wedding, a baby's first year. Write it down in one sentence. That sentence will help you say no to photos that are lovely but belong to a different story.
How do I gather photos from different places?
Create one folder for the project and copy everything relevant into it. Check:
- Your phone gallery and cloud backup.
- Family members' phones. Ask them to send original files, not chat app copies.
- Cameras and memory cards.
- Old hard drives and laptops.
- Shared albums from friends.
- Prints that need scanning.
Copy, do not move, so your originals stay safe where they were.
How do I narrow down thousands of photos?
Do it in passes, and do not try to be perfect on the first one.
- First pass: remove the obvious. Delete or skip duplicates, blurry shots, accidental photos and screenshots. Be quick. This pass should feel almost mechanical.
- Second pass: mark the maybes. Go through again and mark anything you might want. Use a star, a heart or a separate folder.
- Third pass: choose the keepers. From the maybes, choose the photos that tell the story. Aim for roughly two to three times the number of photos you expect to use.
Take breaks between passes. Fresh eyes are much better at letting go.
How many photos do I need for a photobook?
A useful rule of thumb is two to four photos per page on average, with some pages holding one image and others holding a grid. A forty page book might use somewhere between eighty and one hundred and twenty photos. Starting the design with a slightly larger selection gives you room to choose layouts freely.
Should I organise by date or by theme?
Date is the simplest and works for trips and single events. Theme works better for long periods, such as a year or a lifetime, where some months have many photos and others very few. You can combine them: chapters by theme, with photos in date order inside each chapter.
Rename and label as you go
If you know who is in a photo, where it was taken or what happened, write it down now. Add it to the file name or a simple list. You will need it for captions, and it is surprisingly easy to forget names and places in a few years.
Keep a story note
While you sort, keep a short list of stories that come to mind: the day the car broke down, the dish that burnt, the joke everyone repeated. These notes will become your captions and chapter openings, and they often matter more than the photos themselves.
Then start designing
Upload your final selection into Soouvenir and let the layouts do the heavy lifting. With a focused set of photos and a clear story, the design comes together quickly, and the book you end up with feels intentional from the first page to the last.